![]()
RZR 1000 XP INSTALL INSTRUCTIONS
Note: These instructions cover both the 2014 and 2015 kits. The kits are the same except for the rear wire harness as noted.
Thank you for purchasing XTC Motorsports RZR Turn Indicator Kit. Our new Turn Indicator Kit is unique from the other kits on the market. This kit is completely plug and play , no wires to cut, no crimping with only power, ground and plug it into the OEM harness. Like many cars on the road today, our kit uses the factory brake lights as turn indicators. Most other kits use one 3/4" marker light for each turn indicator. The factory lights are many times larger, making it much safer to be seen. Since these vehicles are used primarily for off road use, we use a turn switch on the dash including a hazard switch, instead of those cumbersome turn levers that break off. This kit is intended for off road use*.
Please read the instructions fully and familiarize yourself with the components before starting the install.
Quick Start
1. Run long harness to rear left corner
2. Mount Control Unit
3. Unplug wire harness at rear driver’s side and connect our harness.
4. Drill ¾” holes in front and mount left and right turn lights
5. Plug front turn lights into connectors on front cable
6. Install the turn and hazard switches in dash
7. Run power wire to 12vdc supply
8.
Verify operation of all lights
STEP 1
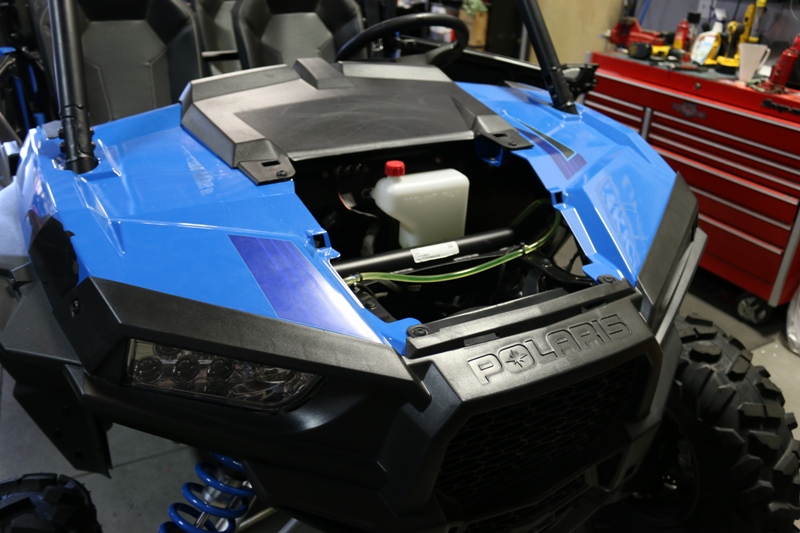
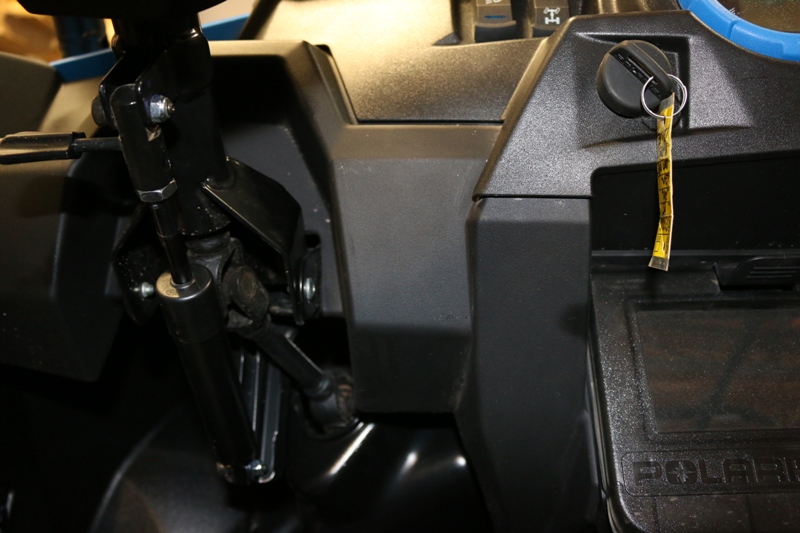
Remove front hood and dash cover.
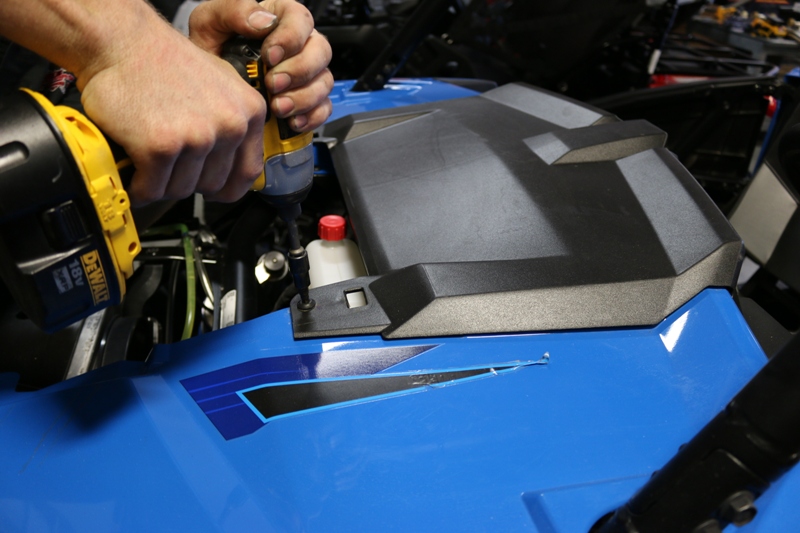
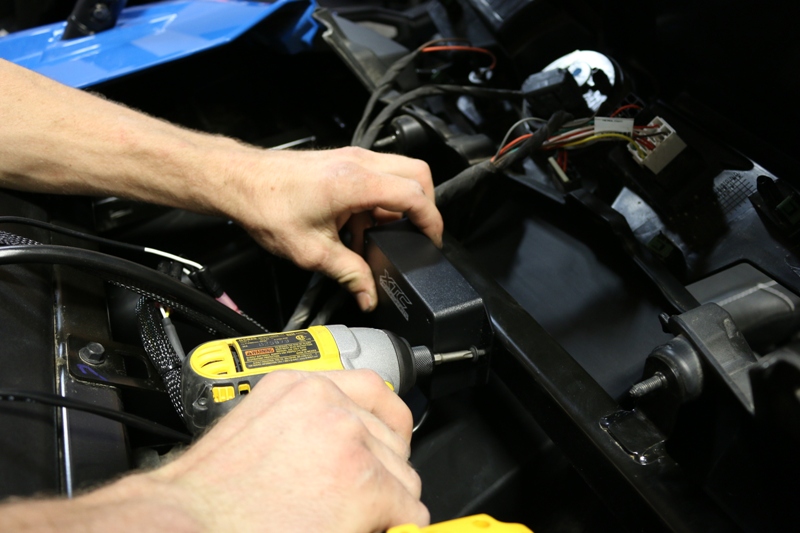
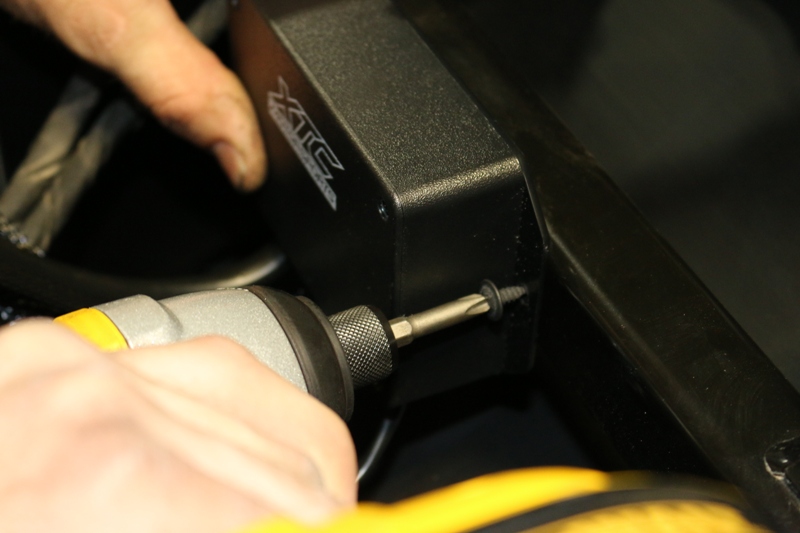
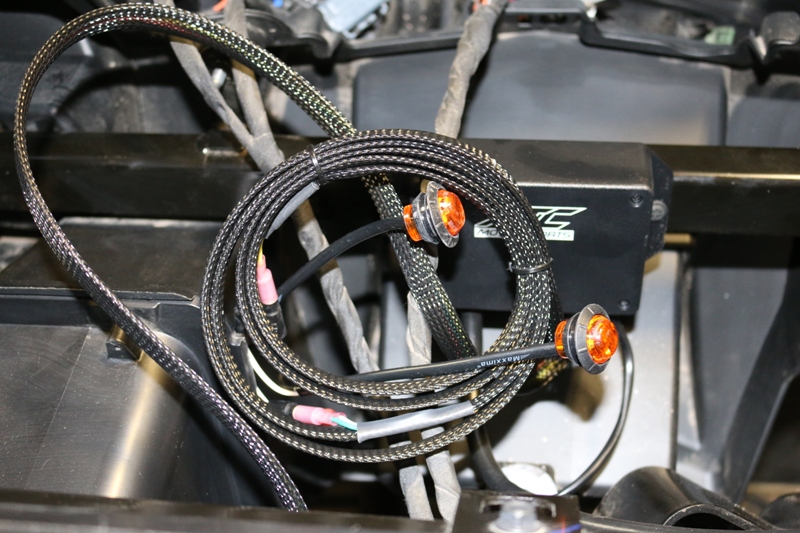
STEP 2 Mount Unit on cross bar with included self tapping screw
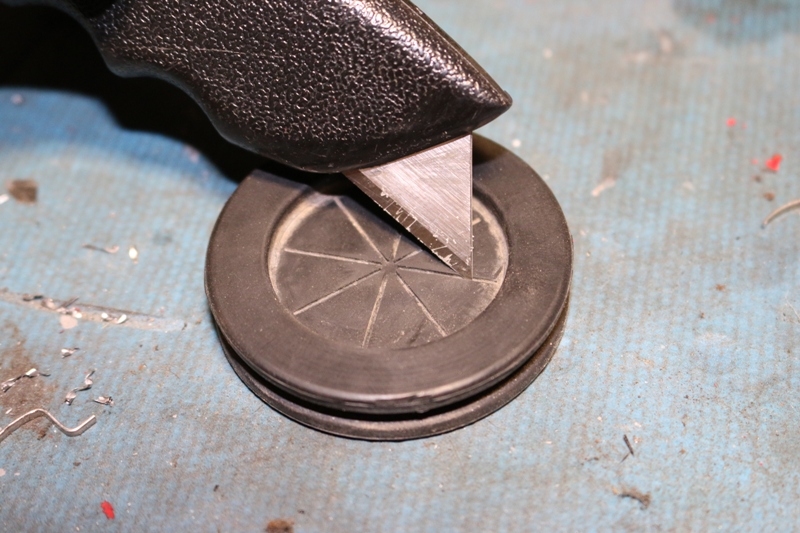
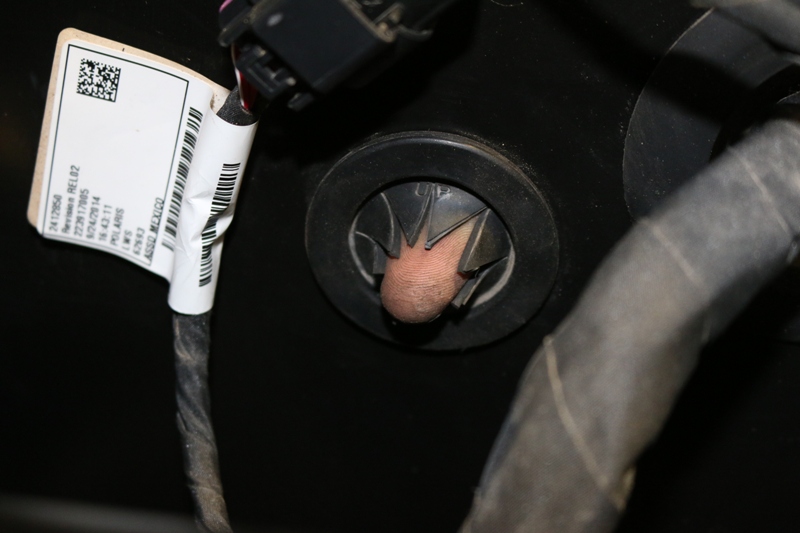
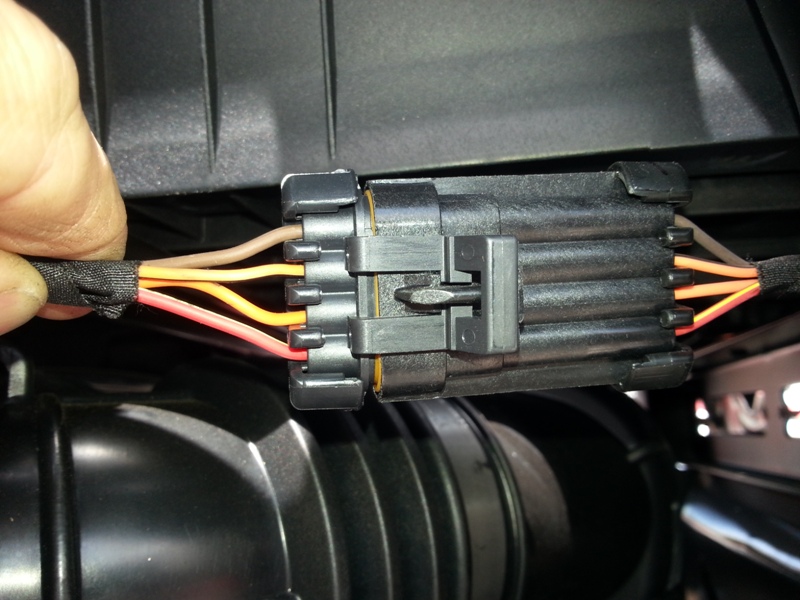
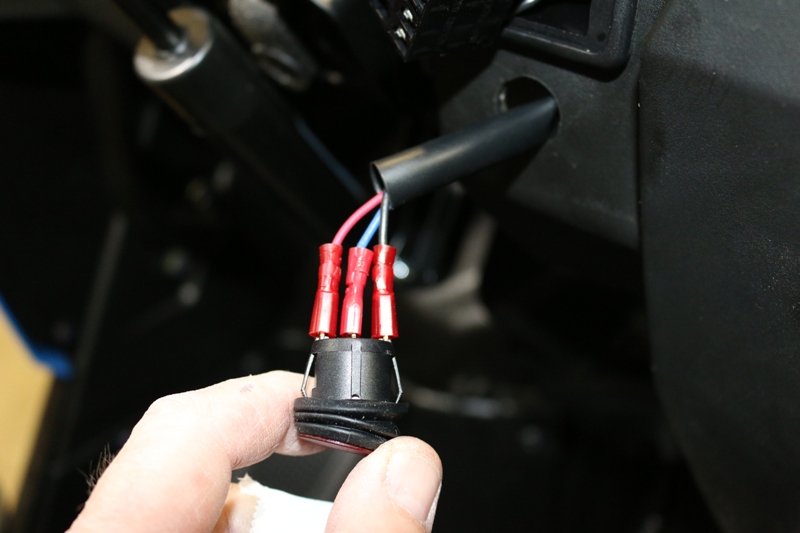
STEP 3 Remove Rubber Grommet and cut lines and reinstall
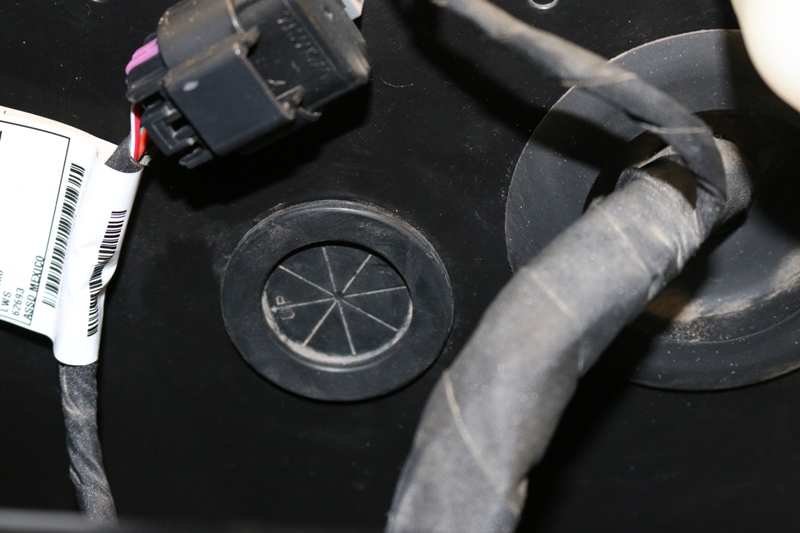
STEP 4
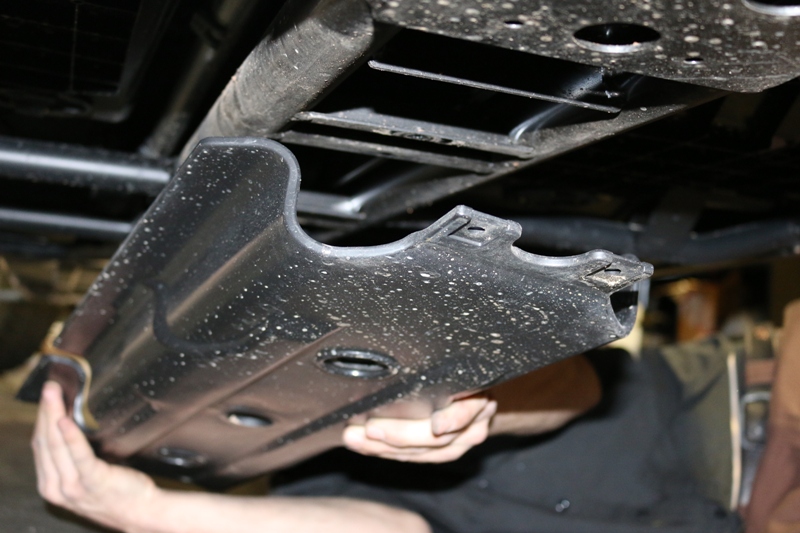
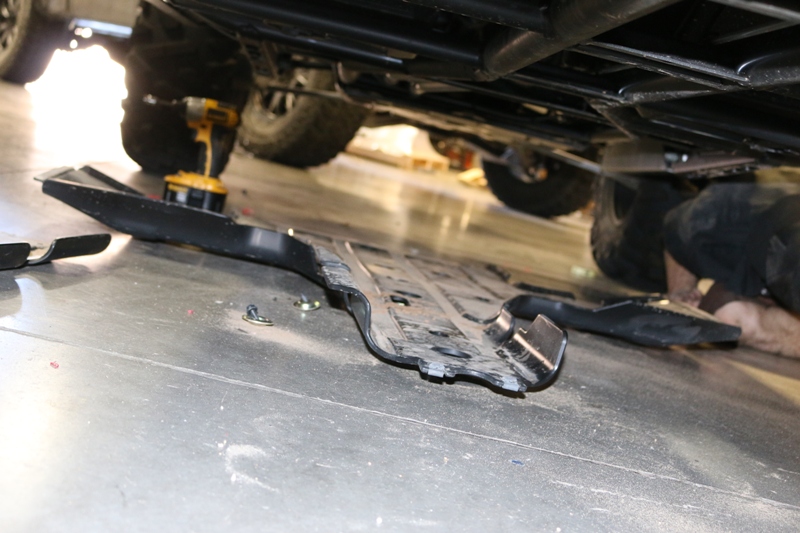
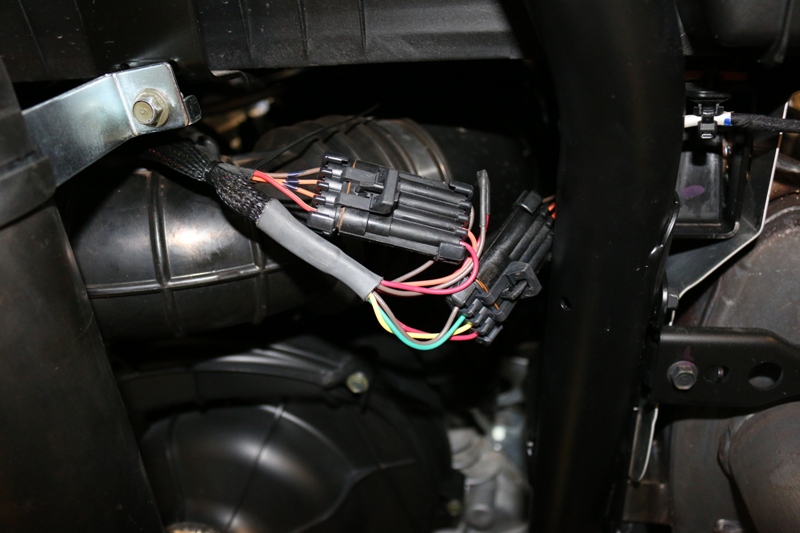
Remove center skid plates under car. Run long cable through rubber grommet on fire wall down to the center channel along brake line up to the left rear corner of car at OEM light connector. Using the supplied cable ties, secure the cable making sure to keep the cable away from all MOVING and HOT parts. This kit is long enough for the 4 seater version, if installing on a 2 seater then cable tie excess under dash.

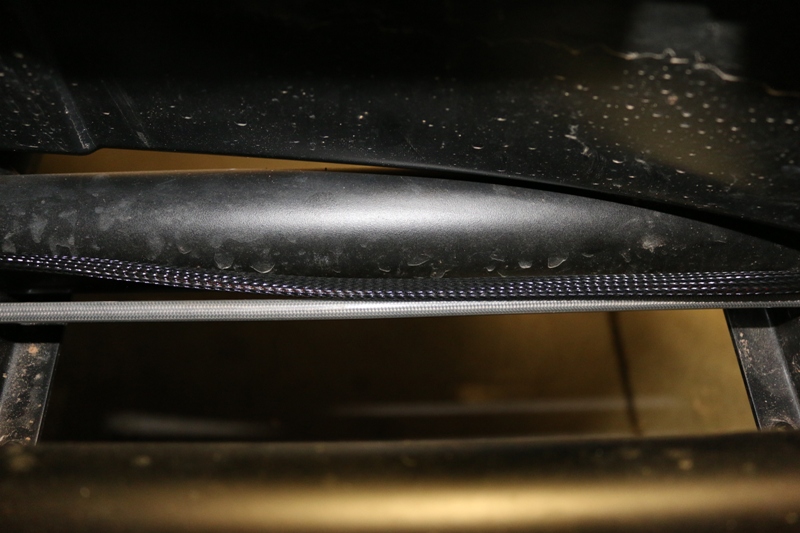
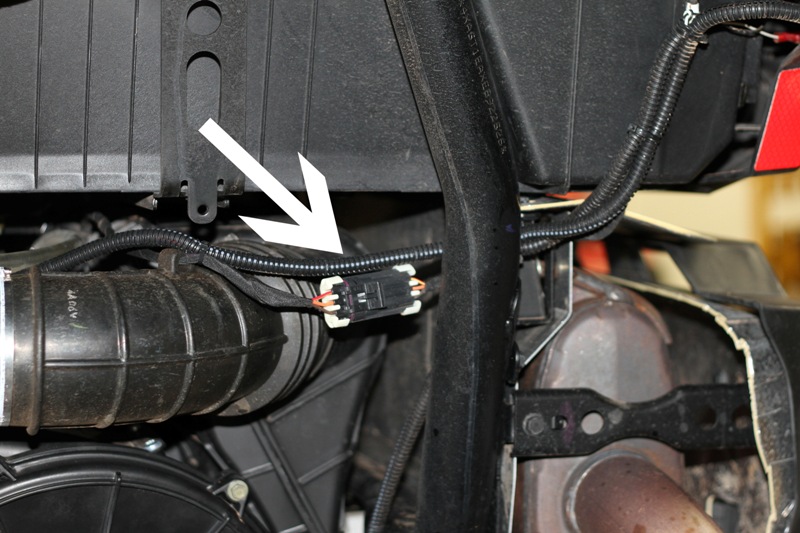
Run cable along brake line shown, use tie wraps to secure
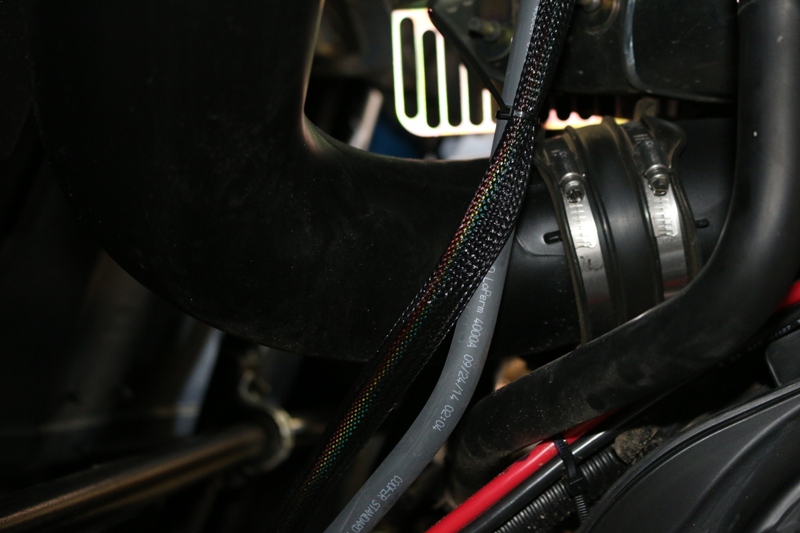
Run cable up along intake to light connector
STEP 4
Note: These instructions cover both the 2014 and 2015 kits. The kits are the same except for the rear wire harness as noted.
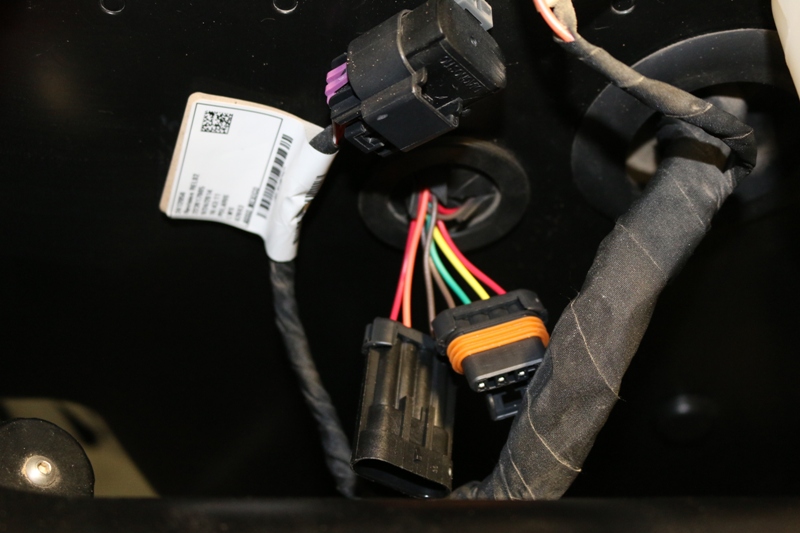
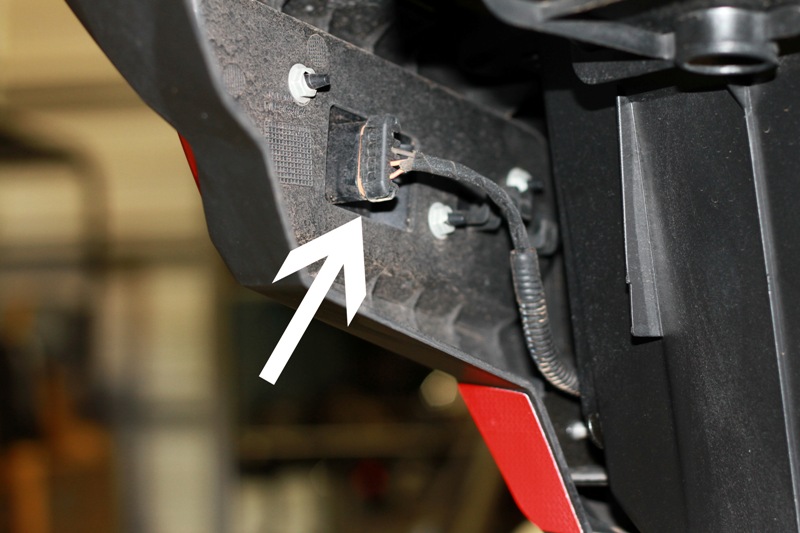
1. On the 2015 model at the OEM rear light connector, unplug connector and plug male and female connector into harness. NOTE: to unplug pull out on locking hook on top of connector.
2. On the 2014 model unplug rear harness and plug new harness into OEM connector and remove 2014 rear harness and run new harness to the left and right lights following old cable path.
STEP 5
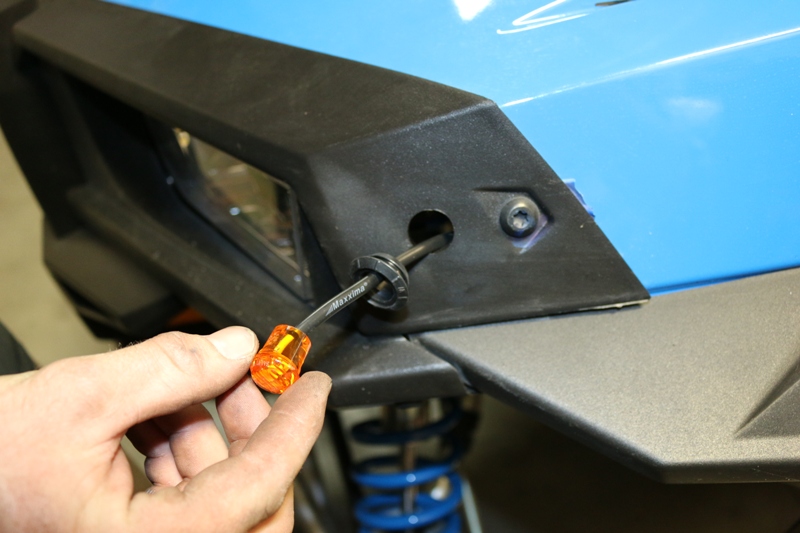
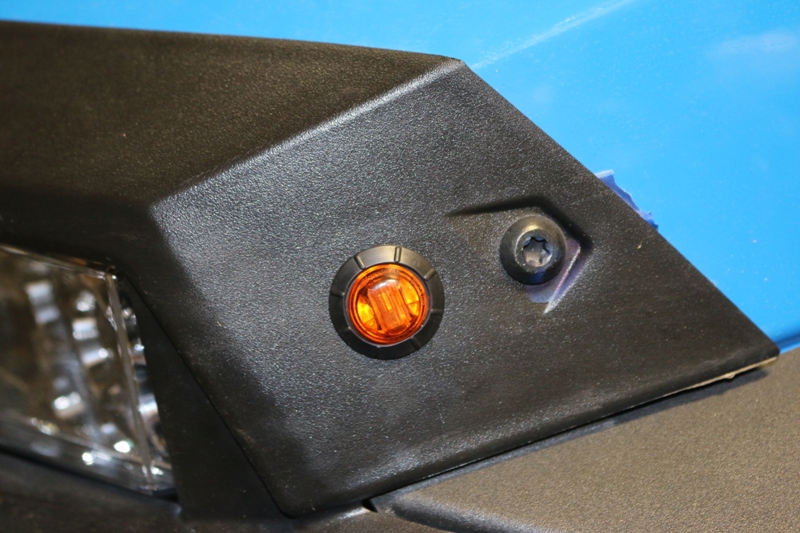
1. Remove the 2 LED lights from the front cable and run through the grommet to the right side of car then over to the left side. The green is right turn and the yellow wire is left turn.
2. Locate and mark a suitable location to install front turn lights, verify that you have enough clearance for light wires and that you will not damage anything behind it.
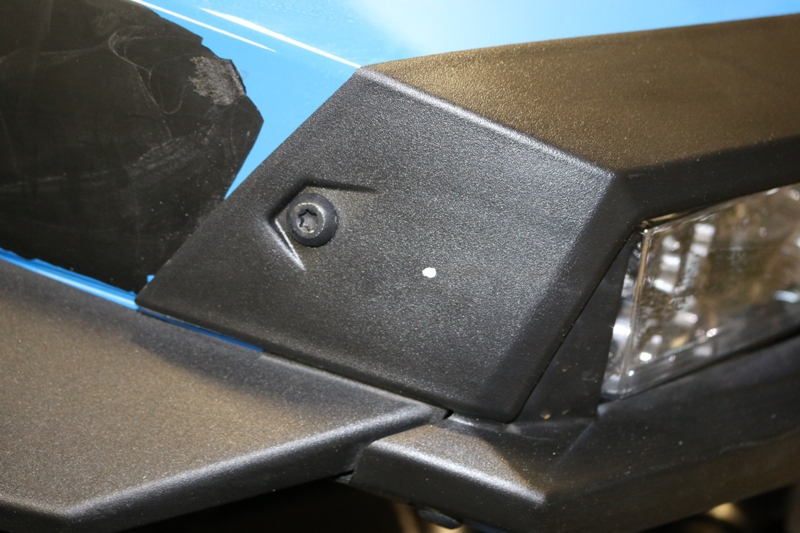
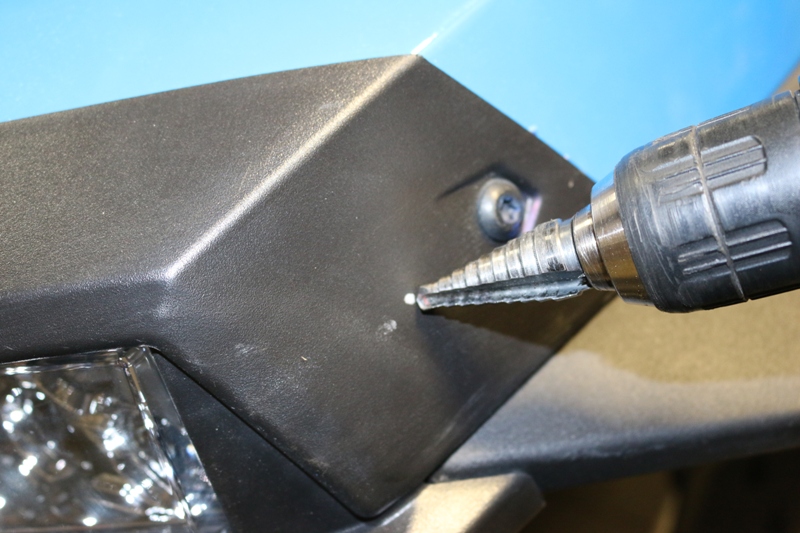
3. Using a 3/4" step drill , drill both the left and right LED holes.
4. To install remove rubber grommet from around the LED light and install in hole, Install lights by pushing through rubber grommet.

5. Connect the green wire from the harness to the right side black wire coming from the light and the white wire to the white wire.
6. Connect the yellow wire from the harness to the left light black wire and the white wire to the white wire.
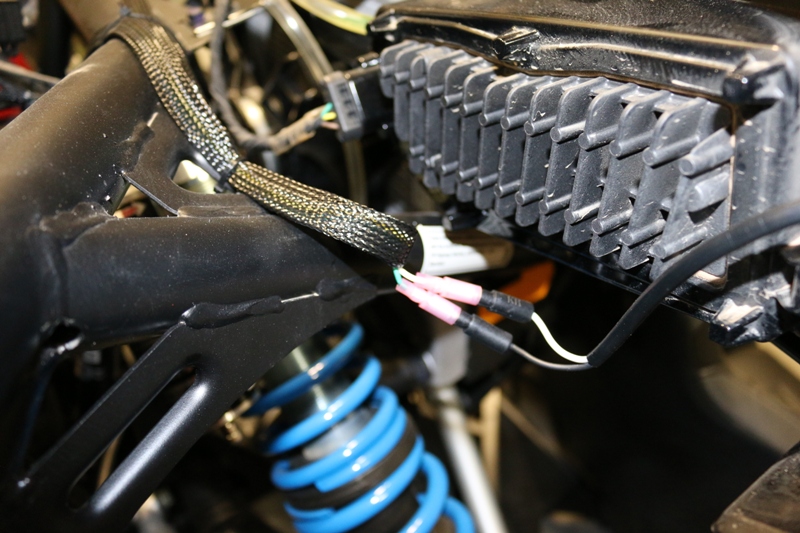
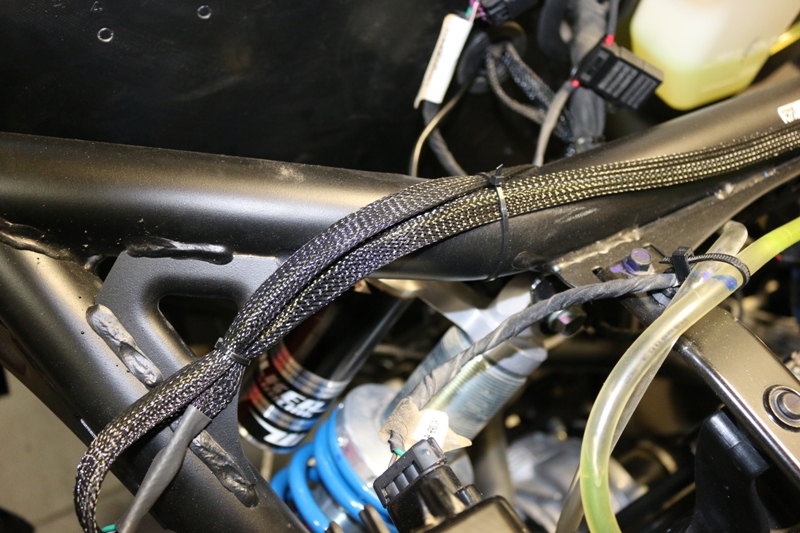
7. Using the supplied cable ties secure cable making sure that the cable is not near any HOT or MOVING parts.
STEP 6
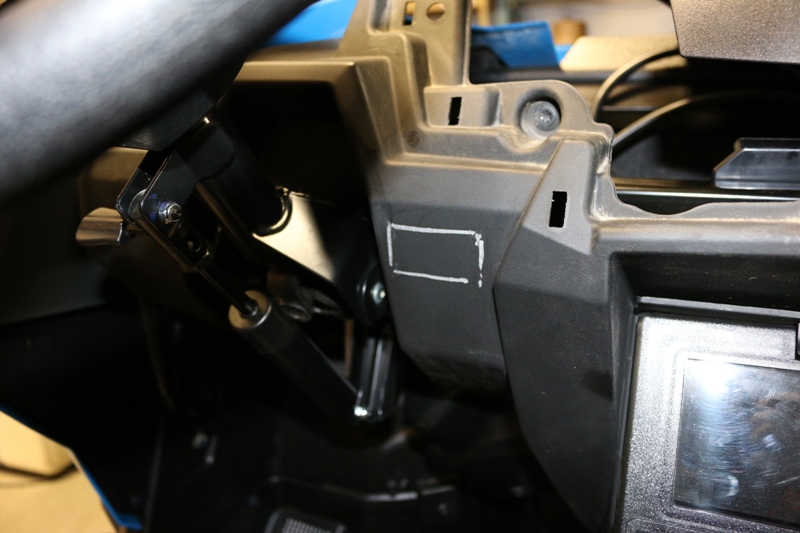
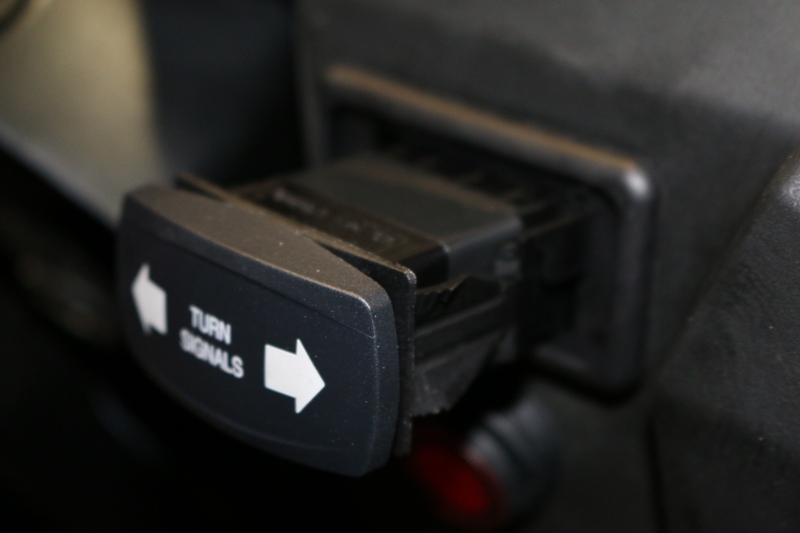
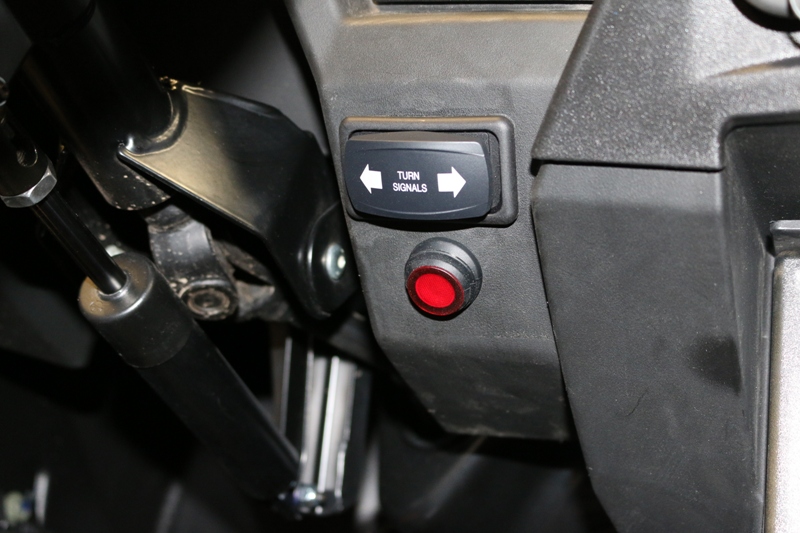
1. Determine where to mount the turn switch and Hazard switch, verify that the location is clear behind it for the wires.
2. Using the switch mounting plate as a template mark and cut the rectangle for the switch Always measure twice and cut once.
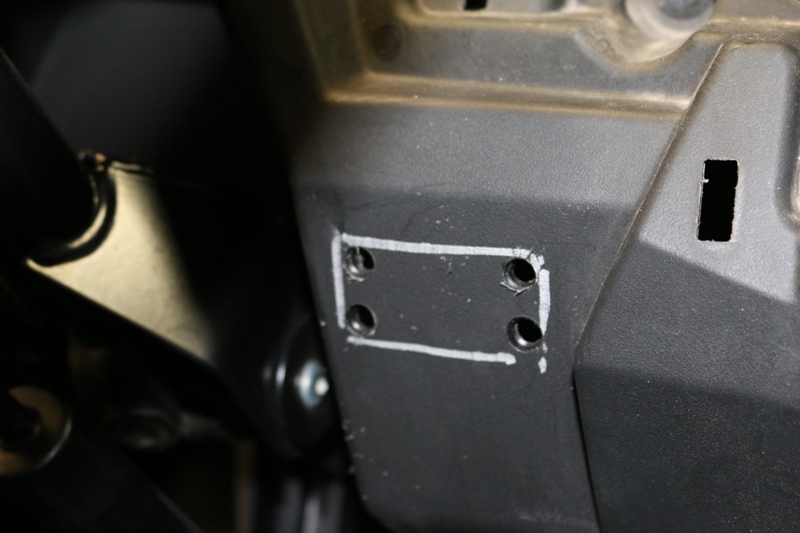
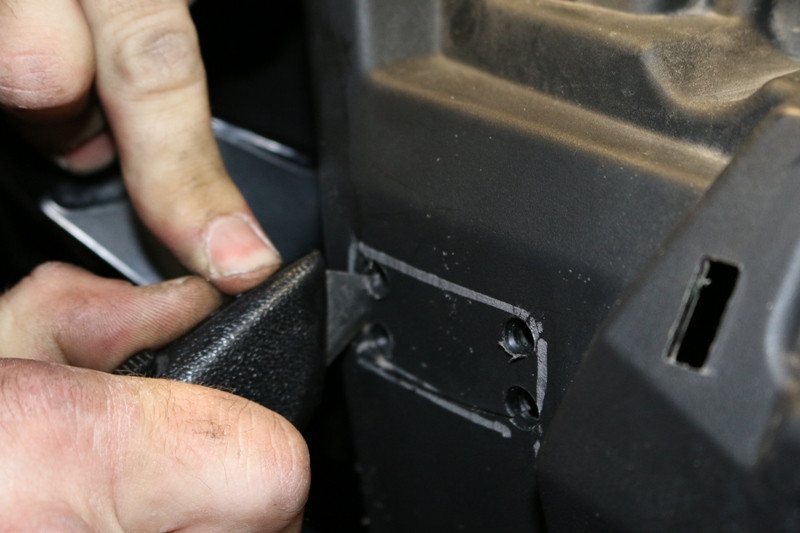
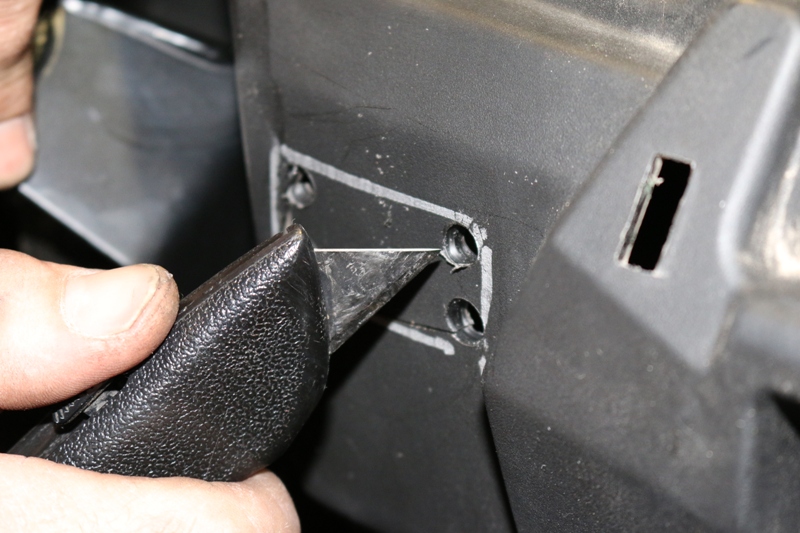
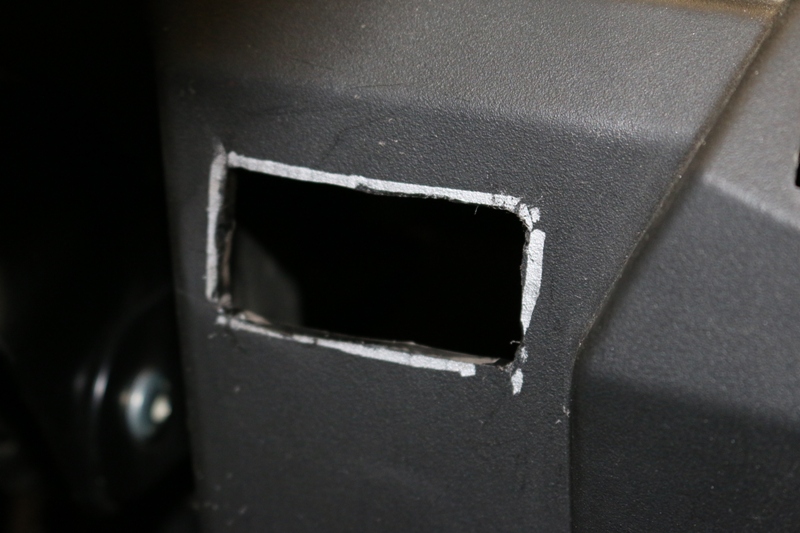
3. Install switch mount in dash and drill 3/4” hole below for hazard switch
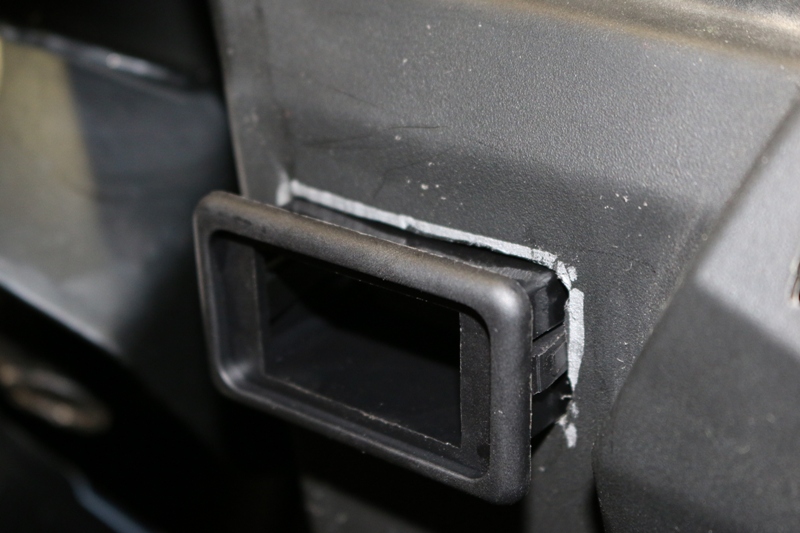
4. Push the wires for the turn switch and hazard switch through
5. Install switches.
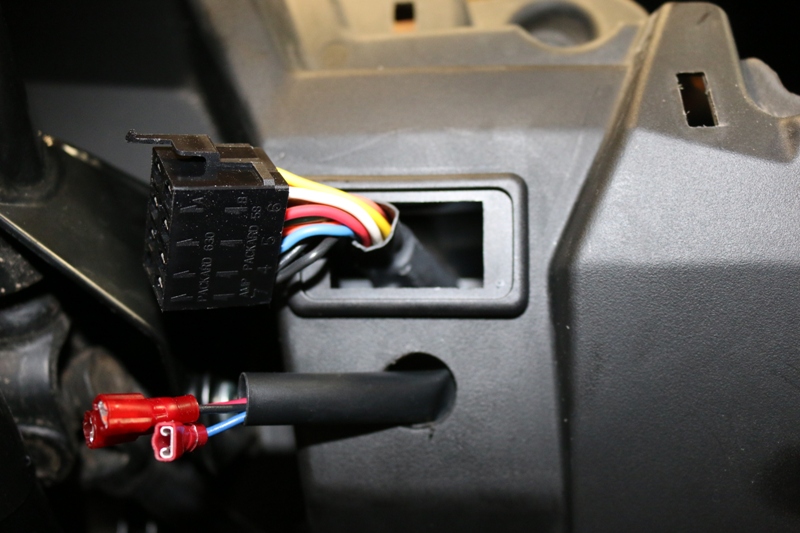
6. Connect black wire to top copper post
7. Connect blue wire to center post
8. Connect red or brown wire to bottom post
9. Push switch into 3/4” hole NOTE: there is a notch on the side of the switch, using a box knife make a little notch in side of 3/4” hole.
10. Connect turn switch to connector. Slide switch into housing.
STEP 7
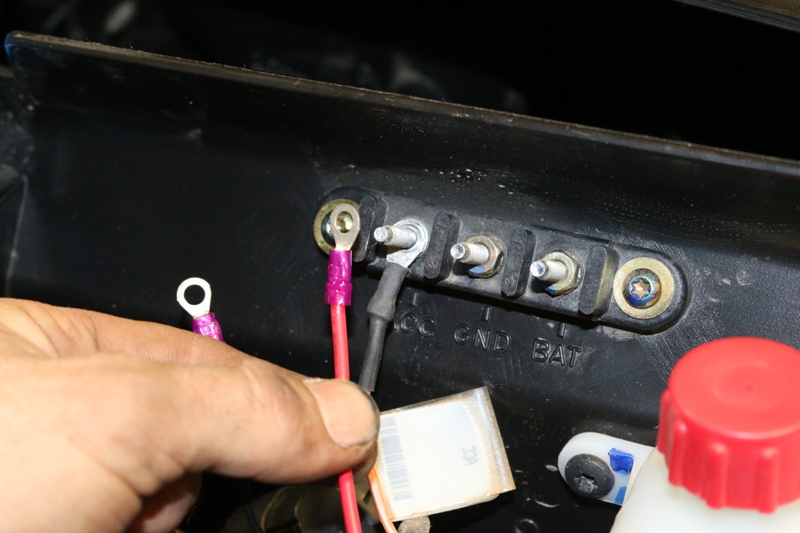
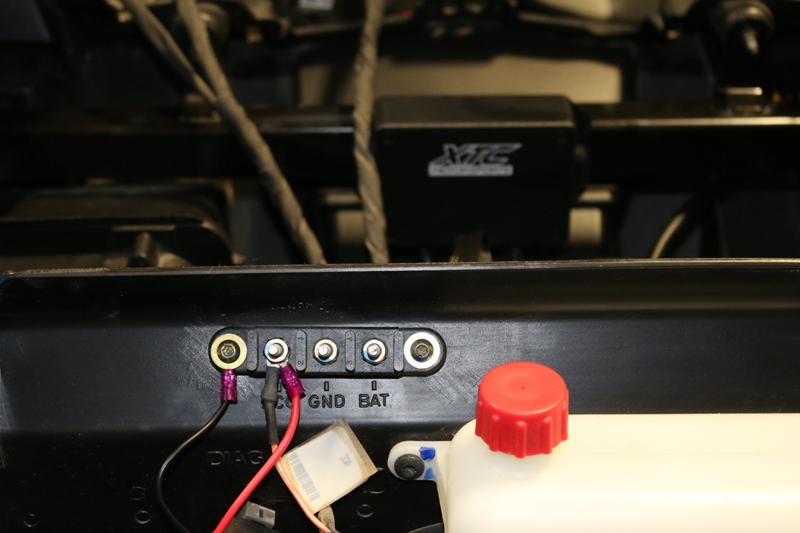
1. Run power wire through fire wall
2. Attach red wire to positive and the black wire to ground. (Note: 2015 Polaris RZR front power studs under hood no longer offer a ground stud). Ground to stud mount or to chassis.
Verify systems operation.
This setup uses the factory ACC outlet that goes through the switch, the red wire can be hooked up to constant power at the battery so the the hazards operate without the key
For support on installation we can be emailed at support@xtcmotorsports.net or we can be reached by phone at 480-558-8588
XTC Power Products
A Division of XTC Motorsports LLC
925 N McQueen RD. #101
Gilbert AZ 85233
480-558-8588
www.xtcpowerproducts.com
*Disclaimer: This kit is intended for off road use only and XTC Motorsports claims no responsibility for it use. It is up to the purchaser to make sure it complies with all Federal, State and Local laws.
© Copyright 2015 XTC MOTORSPORTS LLC ©